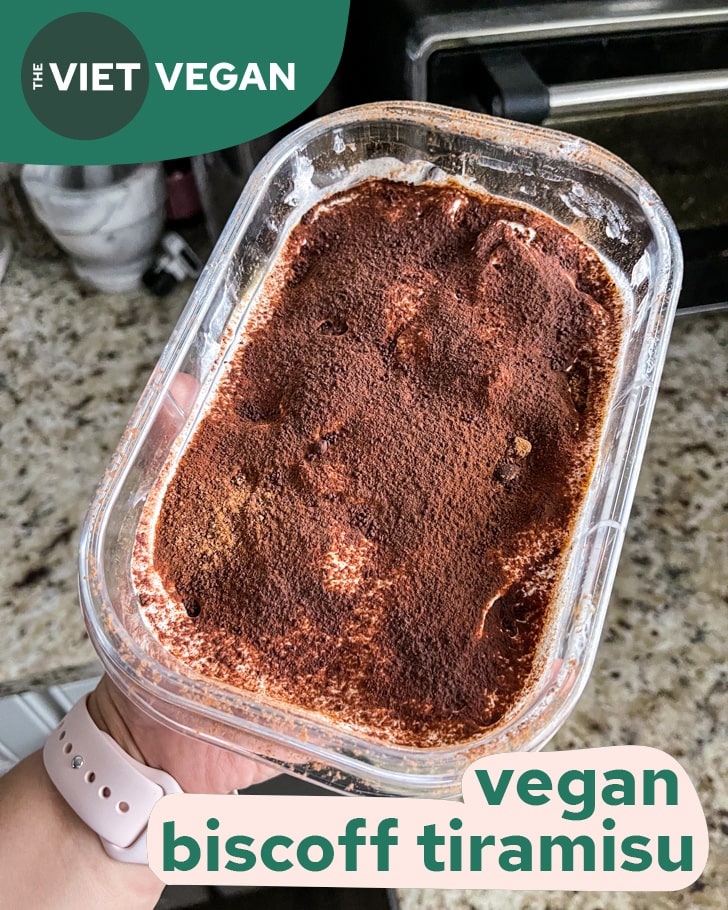
This lazy and super easy vegan Biscoff tiramisu has been one of my go-to desserts to throw together in 10 minutes to graze on whenever the craving for tiramisu strikes!

I just had a baby less than a month ago, and the craving for tiramisu has been extremely strong. Now that I think about it, I had hankerings for vegan tiramisu throughout my pregnancy as well. Once Beanie Baby arrived, my cravings have gotten way stronger.
Now, traditionally, you make tiramisu with ladyfingers, which are a very egg-heavy Italian cookie. While I could bake those myself using the magic of aquafaba, but like I said, I just had a baby. I have limited time between these 3 hour newborn cycles of feed/change/sleep.
My time management skills before having a baby were questionable at best. Now I have to relearn how to squeeze in showers, meals, and chores between keeping my human tamagotchi alive. I hadn’t planned on writing much about parenthood here, but if you’re interested in the day-to-day, I share snippets in my Instagram/Facebook stories!

Needless to say, I’m not making ladyfingers from scratch anytime soon.
The search for an adequate cookie for tiramisu happened when I had a late night craving for tiramisu. I had an open package of Biscoff cookies I had half-eaten at the hospital. They’re fairly delicious on their own, but have a relatively neutral flavour. Since Biscoff cookies are commonly eaten alongside coffee anyway, they make for a perfect ladyfinger replacement.
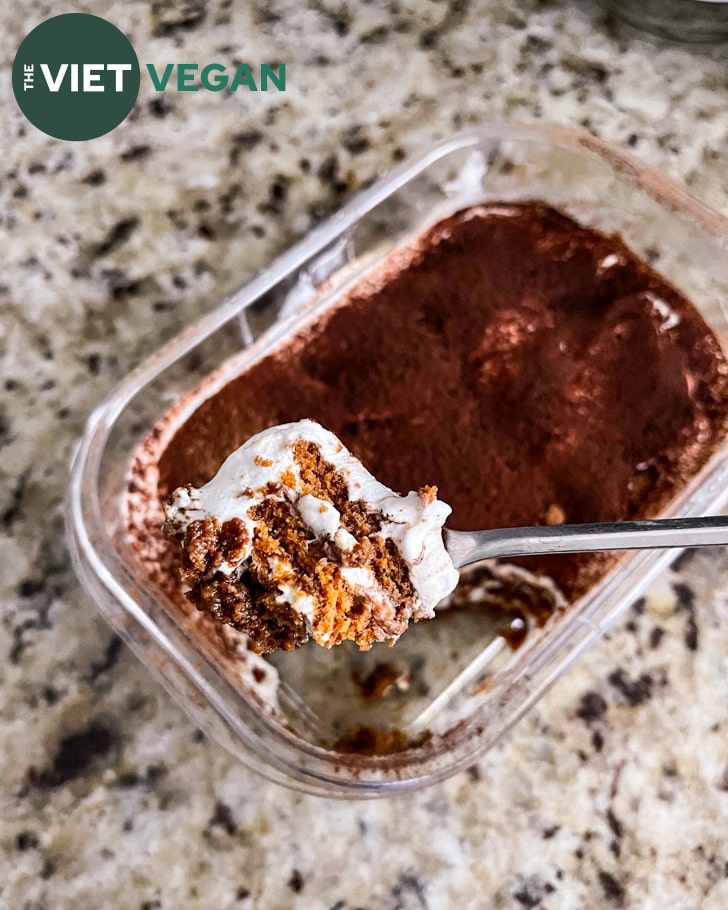
Biscoff cookies’ airy texture soaks up coffee extremely well, and they maintain their texture for long enough that you can layer coconut whipped cream on top before it completely turns into mush, which is ideal. Mushy coffee-soaked cookies are what tiramisu is all about!

What to use if you don’t have Biscoff Cookies
Whether you can’t find Biscoff cookies, they’re too expensive, or you just don’t like them (how dare you, but ok you do you), there are tons of different things you can use.
For a lazy route:
- Vegan animal crackers
- Arrowroot cookies (I would let them soak in the coffee for a bit of extra time)
- Vanilla oreos (skip the sugar addition to the coffee mixture)
- Heck even chocolate oreos (again, don’t use sugar in the coffee mixture)
If you have more time:
- Vanilla cake (feel free to use box mix)
- Homemade lady fingers (this recipe from Addicted to Dates looks perfect)

Luckily for me, Eddie isn’t really much of a fan of tiramisu. He doesn’t like coffee in general, but found that this vegan biscoff tiramisu wasn’t too strong in the coffee department. Feel free to up the concentration of coffee flavour if you like, but I find the 1 tbsp of coffee granules to 4 tbsp of water is plenty strong.
If you’d like to make these into individual portions or make double the recipe, feel free to do so! I suggest either using a larger container or just stacking extra layers of coffee soaked biscoff cookies and Cocowhip).
I apologize for the obvious phone photos instead of my usual photography, Beanie was sleeping beside my workspace and I decided that flash photography wasn’t conducive to a quality nap.
Super Easy Vegan Biscoff Tiramisu
Ingredients
- 1 tbsp instant coffee granules
- 1 tbsp sugar or maple syrup, whatever sweetener of your choice
- 4 tbsp boiling water
- 1/2 tub Cocowhip basically vegan cool whip, but if you want to make your own coconut whipped cream, by all means
- 18 Biscoff cookies
- 2 tsp cocoa powder
Instructions
- In a heat-safe bowl, combine instant coffee granules, sugar, and boiling water and stir to dissolve the sugar. Let come to room temperature. Take out the Cocowhip from the freezer and let sit out at room temperature to soften while the coffee mixture cools down.
- Fully dip your Biscoff cookies, one cookie at a time, into the sweetened coffee mixture and layer in a flat and shallow container (I used a 3.2 cup Rubbermaid [affiliate link] container). Work quickly as the cookies start to disintegrate fairly quickly once soaked.
- Then add a layer of Cocowhip on top of the soaked cookies, about 1/3 cup per layer.
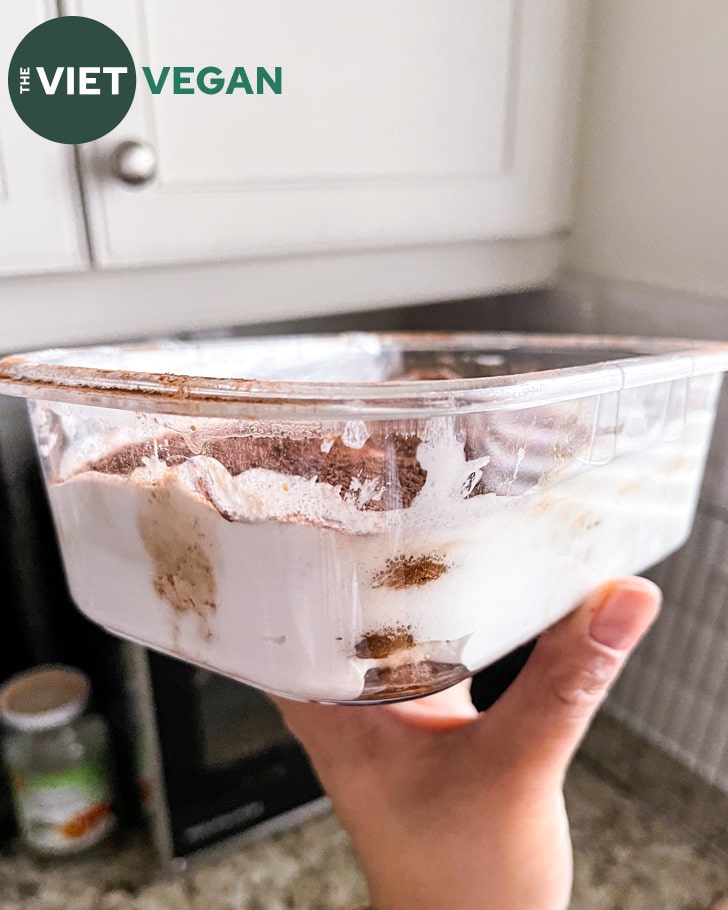
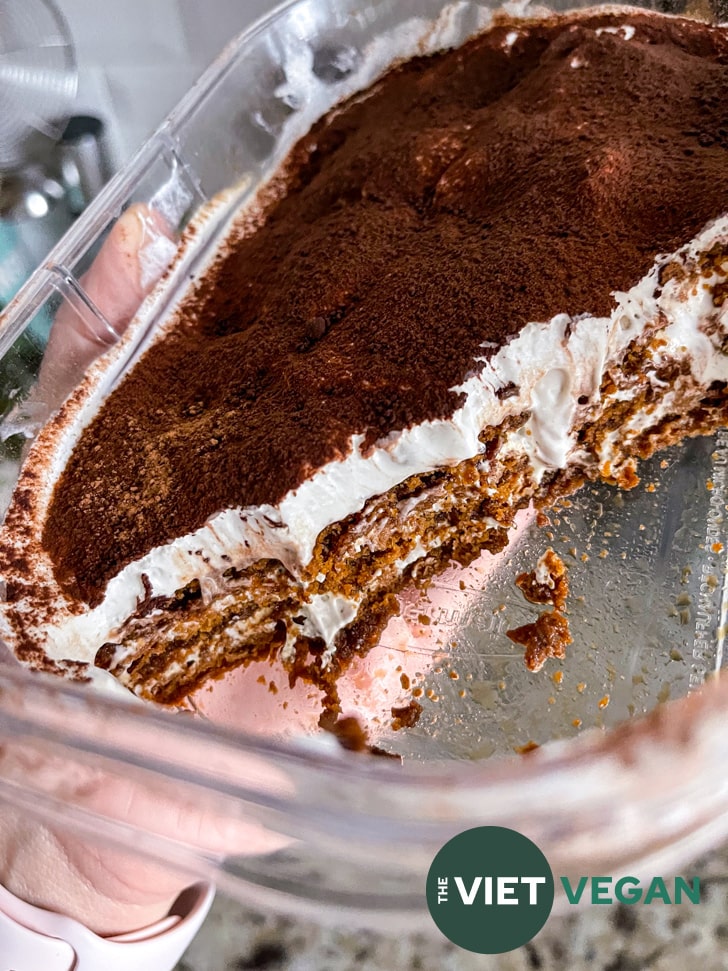
- You'll be adding 3 layers of soaked Biscoff cookies, and 3 layers of cocowhip. I did 6 cookies per layer, with a thin layer of Cocowhip between each layer.
- I like to add an extra thick layer of Cocowhip on top, then dust with a coating of cocoa powder to finish. I dust using a fine mesh sieve to create a light, even layer of cocoa powder.
- Cover and let it set in the fridge for at least 30 minutes. Then enjoy :)


Teresa says
I actually made vegan tiramisu for the first time on New Years Eve! I used a recipe from It Doesn’t Taste Like Chicken and it came out great, but it was a bit of a project so I wouldn’t be able to make it for a quick dessert on a weeknight. I’m excited to try this version! I was watching the instagram stories for it when you were developing the recipe, it looked really nice.
Lenore says
Just made this last night, it is incredible!!! I can’t believe how easy it was AND I even added a step since I made my own coconut whipped cream. Thank you for blessing the world with this recipe!
Vijaya says
Tried an individual portion of this and it was a hit! Not only was it super easy to prepare, it tasted so freaking delicious! I used espresso instead of instant coffee and the taste was great. I would suggest to reduce the amount of sugar to help balance things off.
Victoria says
For those who are cool with cannabis : this is the ultimate stoner snack. I hope this doesn’t offend you, but it’s a munchie trifecta – 1) easy to prepare, if you don’t do it perfectly, it still turns out amazing 2) you only need a few ingredients and it takes hardly any time and 3) it’s so delicious, like 10/10. I would eat this in bed every night if I could, but I would also bring it to a potluck or family dinner because this dish will make others see you as a true chef. I’ll also add that my boyfriend is not into sugary treats, but he is currently polishing off the tray. Thanks for the great recipe!
Lisa Le says
HAHAHAH I LOVE THIS COMMENT. This is amazing.
Harmony says
Love this recipe! I was too lazy to go buy Cocowhip so I ended up using SchoolNightVegan’s cream from their tiramisu recipe, and reduced the sugar a little. My family devoured the one in an evening and I quickly made two more: one for a coworker’s birthday and one for the family to eat during the week. Both were gone in a day – thank goodness for Biscoff from Costco and how quickly this recipe comes together! Even my non-vegan friends were delighted. Thanks Lisa!
where’s breakfast says
Just made this. It’s so easy but so good! I think I soaked the biscuit a bit too much this time. Gonna try again. Also I didn’t know biscoff cookies are vegan, they are so tasty I almost finished the two boxes I have before I got my hands on Cocowhip to make this, haha.
Yoanna says
Here’s my little input:
Dont have cool whip where I live, so I went the full fat coconut in a can route – in the fridge to separate the solids, whipped, added sugar, whipped again to as stiff peaks I had the patience for.
Made the tiramisu, put in the fridge.
When it was stable enough, I Sectioned the tiramisu into silicone cupcake cups, put them in the freezer. YES! YES! YES!
Now I can’t wait to free up some of those silicone cups so I can make more (maybe with fruit? Jam? Sorry Lisa, I might butcher the recipe, but thanks for the inspiration).
Highly highly recommend!
Lisa Le says
Hahahah this is already a butchered recipe of tiramisu. You are the boss of your own cake XD
Shay says
Hi! How long can this last for in the fridge?
I made this a couple months ago and it was AMAZING. Me and my boyfriend ate it so fast!!! So easy and delicious. I’m wanting to make it again and have a sweet treat at the end of the night, but I’m unsure how long it can last for!
Lisa Le says
I’d probably say 3-4 days maybe? It doesn’t usually last longer than that for me because we eat it so fast haha