This bright green layered coconut pandan jelly is a juicy, crunchy sweet treat of my childhood! Subtly sweet and fragrant with pandan.
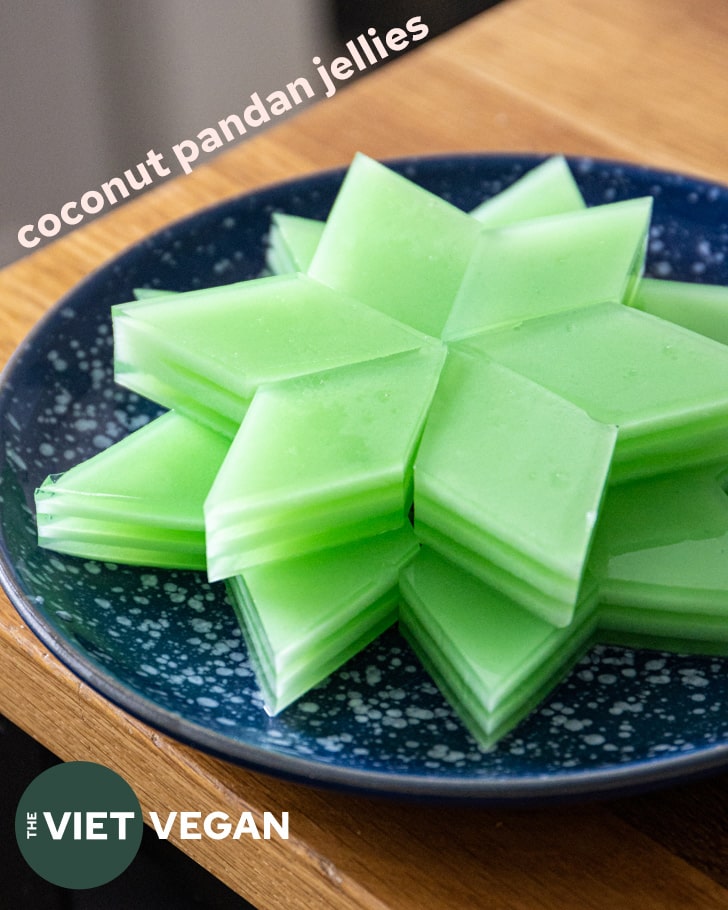
In my last recipe, I made coconut coffee jellies that I grew up having a lot, but I wanted to make the pandan version for anyone who doesn’t like coffee. With this base of a recipe, you could replace the pandan paste with any flavouring extract you’d like.
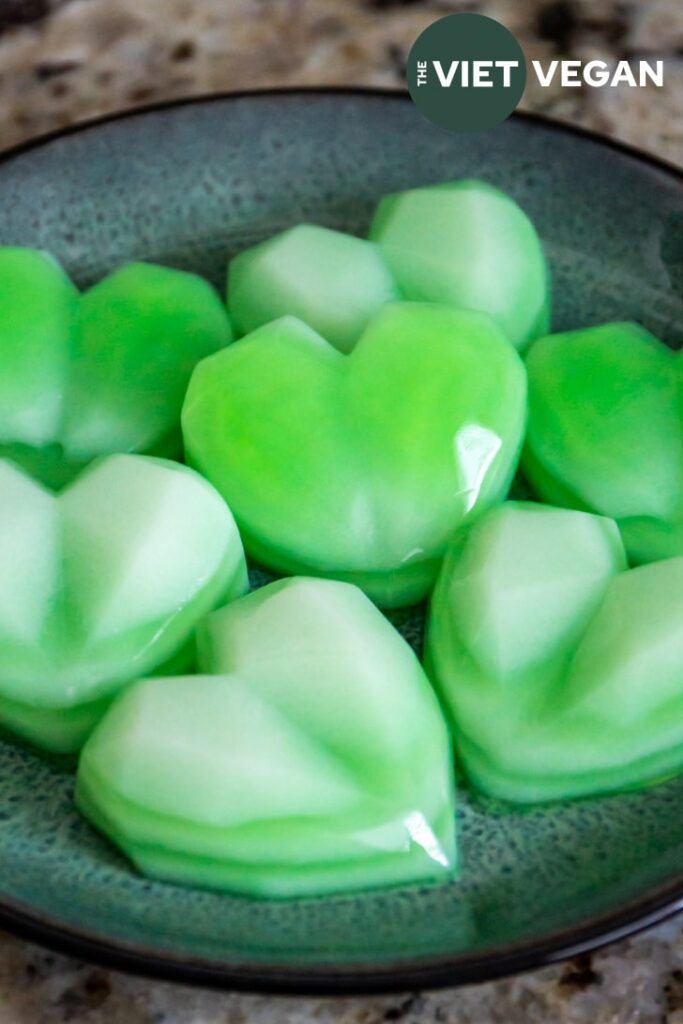
Like I mentioned in the coffee post, pandan flavour comes from a grassy leaf, also called pandan or screwpine. They look like thick blades of grass, and are often bruised and wrapped into a bundle then simmered in coconut milk or water to release the flavour.
I like to describe as subtle and herby, but fragrant. It’s the “vanilla” of Vietnam, and I find that pandan and vanilla both have very similar flavour profiles. They’re both subtle but distinct flavours.
How to get Pandan Flavour
Typically you would blend pandan leaves with water and then strain to get the flavouring, but I take the shortcut of using pandan paste or pandan extract. The paste Typically you would blend pandan leaves with water and then strain to get the flavouring.
However, I take the shortcut of using pandan paste or pandan extract. The paste has food colouring to get nice green hue, but you can use clear pandan extract. No food colouring means you’ll have a beautiful clear layer to contrast with the opaque coconut layer.
I’ve been told that buko pandan extract is better than regular pandan, but I’ve never tried it. From what I can tell, buko pandan is coconut + pandan, which works perfectly for these anyway!
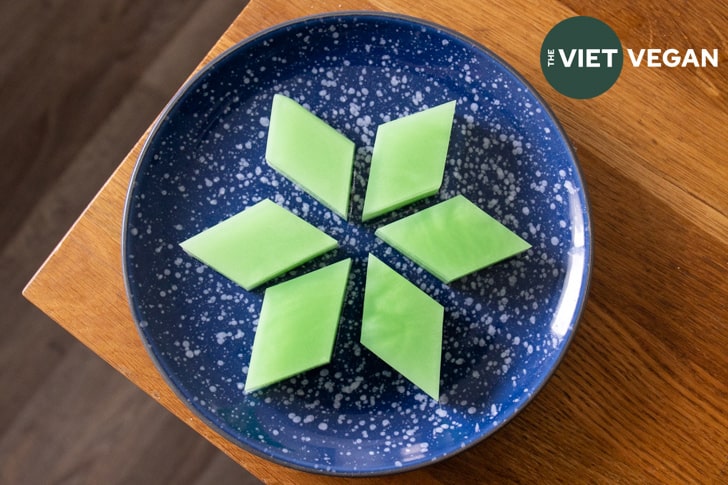
These coconut pandan jellies are a crowd favourite at potlucks and Vietnamese parties. If you find yourself among a crowd who aren’t familiar with pandan, try experimenting with different flavours. I want to try a strawberry version or an ube version. Basically use any flavours you think would go well with coconut.
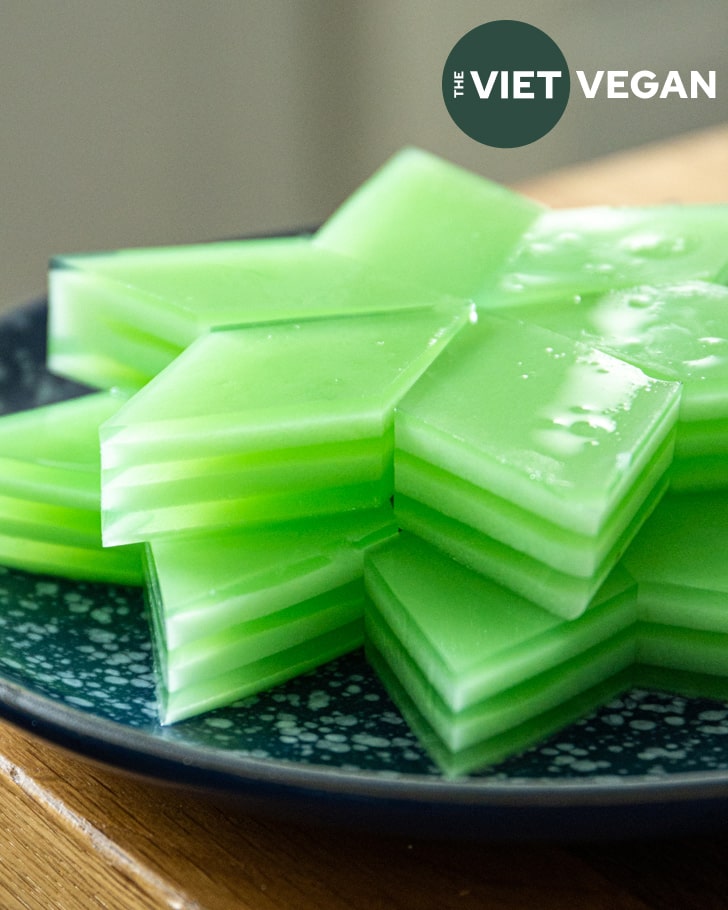
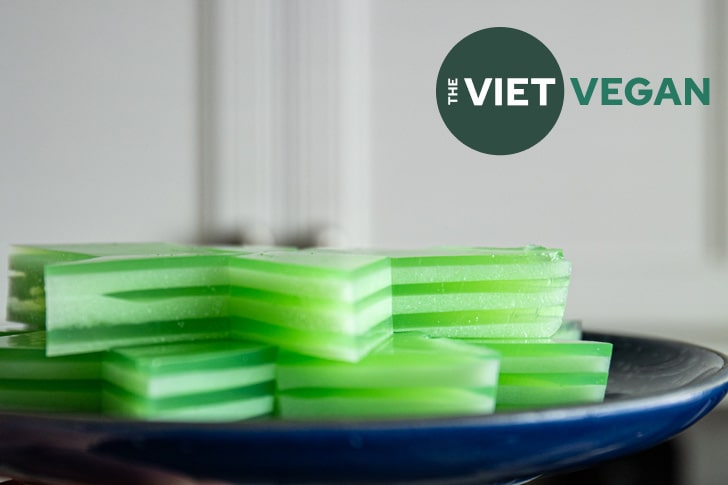
How to get even layered coconut pandan jelly
The multiple layers of this dessert seem intricate and complicated, but in all honesty, it’s just gravity and eyeballing well! While I’m spooning out each layer, I end up going section by section to gently coax the jelly liquid into an even layer.
By the time I coat the entire surface, I find it’s already fairly even. But make sure you’re working on a flat surface and get down to eye level to double check the layers if you want to make sure!
Coconut Pandan Jelly – Thạch Rau Câu Lá Dứa
Ingredients
Pandan layer
- 12.5 g agar agar powder half a 25 g packet
- 1 L + 80 mL 4.08 cups water
- 1 tsp pandan paste affiliate link
- 150 g 2/3 cup sugar
Coconut layer
- 1 L 4 cups water
- 12.5 g agar agar powder half a 25 g packet
- 125 g 1/2 cup sugar
- 125 mL coconut cream or coconut milk is fine
Instructions
To make the different layers:
- In two small pots, add 1 L of water to each pot, then add 12.5 g (half a
25g pack each) agar agar to both pots. Mix and then let bloom for 15
minutes. - Bring both pots to a boil on the stove.
- For the pandan layer, mix 1 tsp pandan paste with 1/3 cup (80 mL) water and mix well.
- Add the pandan liquid and sugar to one pot.
- For the coconut layer, add sugar and coconut cream to that pot and stir to melt the sugar.
- Allow both pots to come to a boil then lower to a simmer. Both mixtures will be ready when the mixtures feel "thick" and bubbles rise to the top as a foamy layer. You can skim this so that your jellies remain smooth without any bubbles.
To assemble the Jelly
- In containers or silicone/plastic moulds, ladle a thin layer (about 1/8-1/4 inch) of the pandan mixture, then let set for about 3-4 minutes. Check with your finger to see if the layer is set, the surface should
feel slightly tacky. If you wait too long, the layers won't adhere to each other and will slide apart when set. If you want the jelly to set faster, you can chill the container in a larger tray with an ice bath. - Ladle a thin layer of the coconut on top, let that set (again, check with your finger for the tackiness), then repeat with a pandan layer. The jellies always look nicer and set faster when you do really thin layers. Repeat until you use up all the mixtures.
- Let set in the fridge for at least 1-2 hours, and then remove from the moulds and slice into diamonds or squares/rectangles. Feel free to use a crinkle cutter or a knife :) Transfer to an airtight container and enjoy within 3-4 days!


Michelle says
I cant wait to try this! I love agar dessert recipes! Do you think this could also work with guava paste instead of pandan? Asking because I just love guava and try to work it into everything. Tho I’m definitely ordering some pandan flavoring too!
Lisa Le says
I don’t see why not :D
Jodie says
I just found your blog and you have made all the recipes from my childhood my mom never taught me! 😭 and they’re vegan too. Lol I brought up to my mom that I was trying to make vegan all the childhood foods and she denied it was possible. But the bun bo hue and bun rieu served at Vietnamese Buddhist temples serve to differ — so fragrant I have been trying to recreate them. Thank you!
Lisa Le says
Aw I’m so happy to help you reconnect with your childhood recipes! I haven’t gotten around to finalizing the bun bo hue, but the broth from my hot pot recipe + the oil blend from traditional BBH is how my mom makes it! I have tried making bun rieu with curdling soy milk! But I haven’t gotten it flavourful enough and I haven’t gotten around to perfecting it yet. :(